This is a write up with a certain level of detail of what I did to get OpenCore working (Version 0.5.9) on my Sandy Bridge X79 Sabertooth Mother Board. The following are the specs I am working with.
Specifications for OpenCore on X79/Sandy Bridge
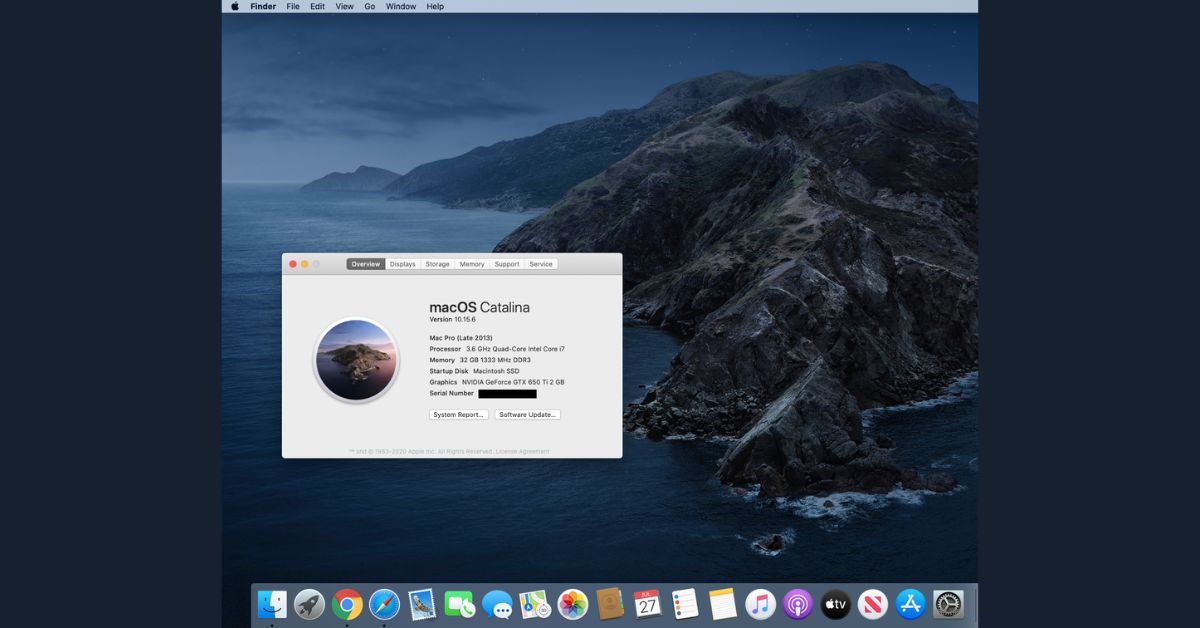
- CPU: Intel(R) Core(TM) i7-3820 CPU @ 3.60GHz
- GPU: NVIDIA GeForce GTX 650 Ti 2 GBRAM: 32GB
- Motherboard: Asus Sabertooth X79
- Audio: External Audio Interface(s) (Focusrite Scarlett 2i4 & Cambridge Audio DacMagic 100)
- Ethernet Card: Intel 82579V PCI Express Gigabit Ethernet
- BlueTooth: Cambridge Silicon Radio
- Touchpad: Apple Magic Trackpad
- BIOS revision: 4701
Credits for getting OpenCore working
- Dortania Install Guide
- All the numerous software developers that made this project possible.
Noteable Steps about the Config
- Made the Installer on a 32GB SanDisk Ultra USB3.0 Thumb Drive following these steps on MacOS.
- Follow the guide for Ivy Bridge Desktops.
- Made custom SSDT-EC from Manual steps tutorial.
- Make Sure CFG-LOCK is disabled using VerifyMsrE2. Use this guide.
- I verified my CFG-LOCK was disabled so I set:
- Kernel > Quirks > AppleCpuPmCfgLock = False
- Kernel > Quirks > AppleXcpmCfgLock = False
- Will not boot (will freeze on boot) without boot-args containing npci=0x2000 or npci=0x3000 (I went with the latter).
- This is under NVRAM > Add > 7C436110-AB2A-4BBB-A880-FE41995C9F82
- I went with GenSMBIOS to generate using MacPro6,1. I felt this matched my architecture the best. One placed I referenced the specs was on everymac.
- Relied on WhateverGreen.kext for graphics to work on boot with this SMBIOS.
- Used HfsPlus.efi not HfsPlusLegacy.efi.
- USB Ports were not active so then I found this solution:
- Make 2 ACPI patches in config.plist:
- EUSB to EH01 (45555342 to 45483031 )
- USBE to EH02 (55534245 to 45483032 )
- Make 2 ACPI patches in config.plist:
- XhciPortLimit = true (will be set to false later)
- UsbInjectAll.kext (will be removed later)
BIOS Settings for OpenCore on X79/Sandy Bridge
Disable
- Fast Boot
- Secure Boot (Go to Secure Keys and remove the secure keys).
- VT-d
- CSM
Enable
- Execute Disable Bit
- EHCI/XHCI Hand-off
- OS type: Windows 8.1/10 UEFI Mode (Make sure secure boot is OFF)
- SATA Mode: AHCI
Post Install for OpenCore on X79/Sandy Bridge
- Chose 15 ports and made and added UsbPorts.kext using this guide.
- Removed UsbInjectAll.kext
- Set XhciPortLimit to false.
- Created SSDT-PM using this guide.
- Followed much of the cleanup steps such as removing debugging and verbose mode: Guide.
- Setup Open Canopy (except for the Chime part).
The good
Almost everything works as expected, and runs very stably and reliably.
The bad
Monitors won’t wake up from sleep so I have to put the computer to never sleep at this time. Also I do not have Wifi, only Ethernet because I never found or invested in a wifi card for this desktop PC.
In Conclusion
That concludes my walk through of how I got OpenCore working on my Sandy Bridge X79 Sabertooth Mother Board. If you absolutely need to, please refer to my EFI folder, however there are no guarantees that this set up will work on your particular computer so please follow the steps by hand, step by step, line by line, and take your time.
This is a spinoff of my usual music content, and for the music lovers out there, All Apologies. However my music would not come to you without this awesome Hachintosh.
Im thankful for the article. Much thanks again. Keep writing. Karoly Flemming Esmaria
A round of applause for your post. Thanks Again. Fantastic. Lucina Norman Bound
Hello there. First of all, congratulations. I have the same mobo and same CPU system as you. I installed it but the usb 3.0 ports do not work with flash memory and usb sound cards. Only keyboard, mouse and usb hub are working. Can you help with this, what should I do? Thanks in advance.
Hello Murat. First of all, assuming you are using OpenCore, I would make sure XHCIPortLimit is set to true, and that you have USBInjextAll.kext. Next I would closely follow the steps outlined in the Dortania guide for usb mapping. https://dortania.github.io/OpenCore-Post-Install/usb/
Hi Aaron,
Being in a relatively close situation (Ivy CPU on a Sandy mobo), I bumped into your guide. 😉
As I’ve been hackintoshing for more that 8 years now — I’ve started with Chameleon, then Clover and now experimenting with Opencore — here’s my 2 cents.
Under Chameleon, I was unable to boot without npci=0x2000 then npci=0x3000 (depending on MacOS version), then with 10.9 they were replaced by darkwake=0, then again by dart=0. Then I switched to Clover but the flags remained the same (in fact, many settings are similar across the different bootloaders).
AFAIK, npci=0x2000 and npci=0x3000 were only necessary if you had “PCI Configuration Begin” freezing in verbose.
You might want to try darkwake=0 or dart=0 instead, as they might cure your monitors wake issue — I guess it’s an issue with your GC not waking up and darkwake=0 was really meant for that.
A word of caution, though, as my mobo is Gigabyte, but who knows… 🙂
Good to know, thank you. I solved the issue back then by changing SMBIOS but that info is helpful for others who might have similar architecture.